

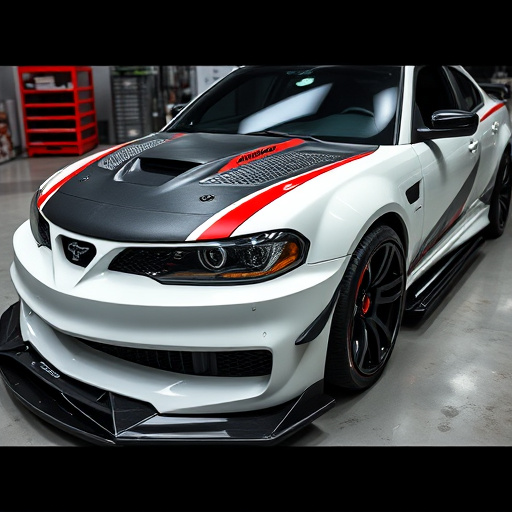
Preparing for clear paint protection removal or replacement requires a meticulous approach prioritizing safety and optimal results. Essential steps include wearing protective gear, ensuring proper ventilation, and using specialized tools like heat guns, scrapers, brushes, cloths, degreasers, and cleaners to safely remove the protective layer. This prepares the surface for new UV protection or heat rejection coatings in automotive detailing.
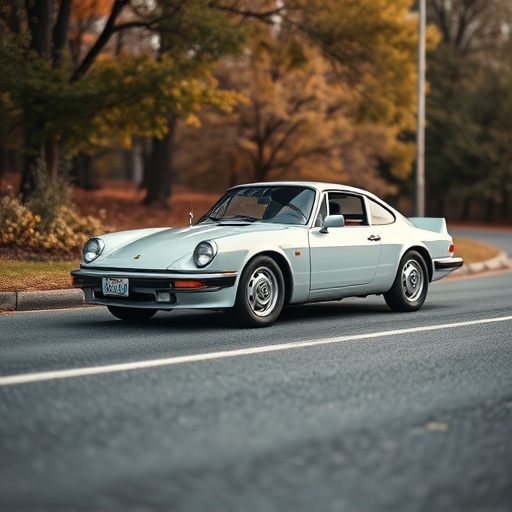
Preparing to remove or replace clear paint protection on your vehicle is an important process that requires careful consideration. Clear coat, designed to safeguard your car’s finish, can develop issues over time, leading to removal or replacement. This article guides you through understanding clear paint protection, inspecting your vehicle before removal, and outlining safety measures and necessary tools for a successful outcome. By following these steps, you’ll be well-prepared to tackle this task effectively.
- Understanding Clear Paint Protection: Its Purpose and Common Issues
- Pre-Removal Inspection: Assessing the Condition of Your Vehicle
- Safety Measures and Tools Required for a Successful Replacement or Removal
Understanding Clear Paint Protection: Its Purpose and Common Issues
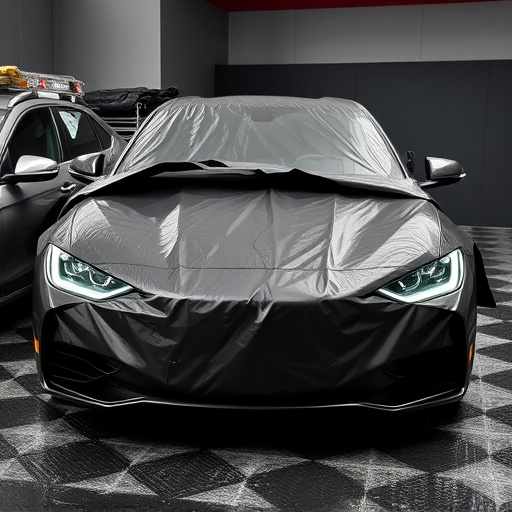
Clear paint protection, often applied as a clear coat or sealant, serves as a vital defense for your vehicle’s finish. Its primary purpose is to shield the paint from environmental damage, including UV rays, bird droppings, tree sap, and other contaminants that can degrade its appearance over time. However, despite its protective nature, clear paint protection isn’t invincible and may encounter common issues such as yellowing, hazing, or cracking due to age, poor application, or exposure to harsh chemicals.
When considering removal or replacement, understanding the current state of your clear paint protection is crucial. Paint correction techniques can help restore a like-new finish before applying new clear coat for enhanced durability. Premium automotive services often offer specialized products and expertise in handling both clear paint protection and custom graphics, ensuring your vehicle retains its aesthetic appeal and protective barrier against future damage.
Pre-Removal Inspection: Assessing the Condition of Your Vehicle

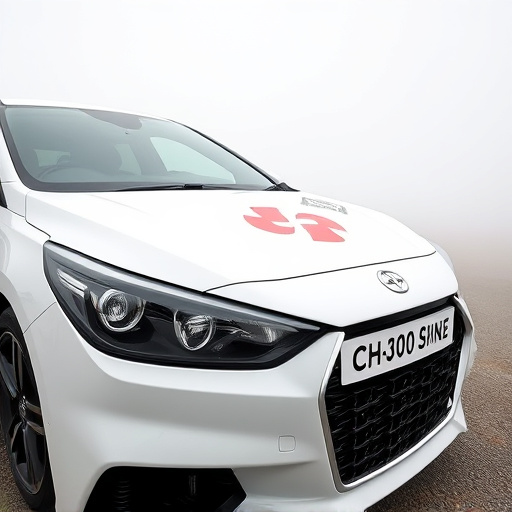
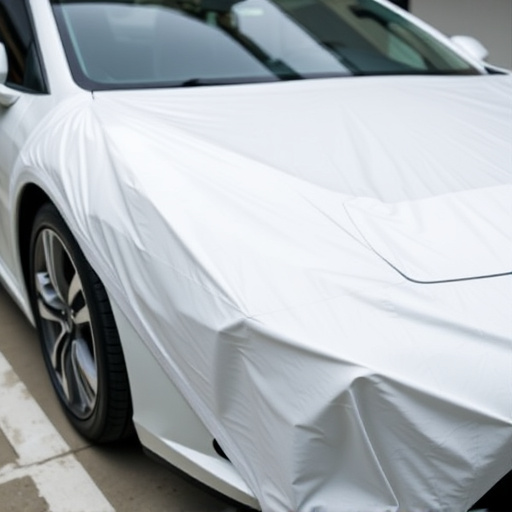
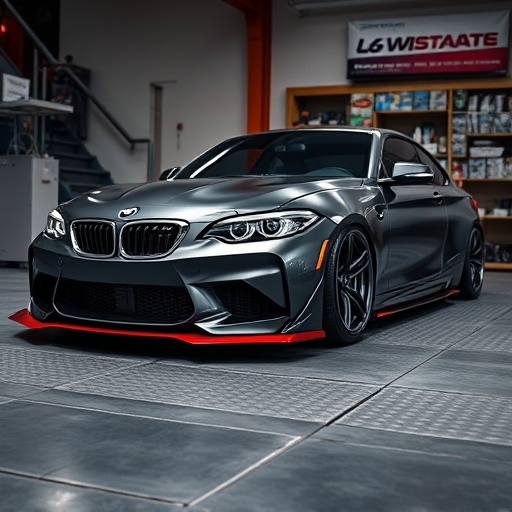
Before beginning any process related to clear paint protection removal or replacement, it’s crucial to conduct a thorough pre-removal inspection of your vehicle. This step is essential in assessing the condition of your car’s surface and identifying any potential issues that might affect the outcome of the project. During this inspection, carefully examine the area where the clear paint protection is located. Look for signs of damage, such as chips, cracks, or delaminations, which could impact the need for repair or replacement.
Additionally, consider other modifications on your vehicle, like protective coatings, window tinting, or previous paint jobs, as these can influence how the clear paint protection adheres and performs. By taking the time to thoroughly inspect your car, you’ll be better equipped to make informed decisions regarding the next steps, ensuring a successful and lasting result for your car customization efforts.
Safety Measures and Tools Required for a Successful Replacement or Removal
Preparing for clear paint protection removal or replacement requires a thoughtful approach to ensure safety and achieve optimal results. Safety measures are paramount; this includes wearing protective gear such as gloves, safety glasses, and a mask to shield against harmful fumes and particles. The workshop or work area should be well-ventilated to prevent the accumulation of volatile organic compounds (VOCs) from paints and solvents.
The right tools are essential for a successful project. These include a variety of scrapers, brushes, and cloths designed for automotive detailing. For clear paint protection removal, a heat gun can facilitate the process by gently warming the paint to reduce adhesion, while a sharp blade or scraper helps in carefully peeling away the protective layer. Additionally, a high-quality degreaser and cleaner are necessary to thoroughly prepare the surface before applying new UV protection or heat rejection coatings as part of automotive detailing.
Removing or replacing clear paint protection requires careful preparation and the right tools. By understanding the purpose and common issues with clear coat, conducting a thorough pre-removal inspection, and implementing safety measures, you can ensure a successful outcome. Remember to gather all necessary tools and protect your vehicle’s surface during the process for optimal results.